
bearing service manual


removal

1) using a 6mm hex key, remove the end cap. remove old end cap o-ring, clean end cap, and replace with new o-ring

2) using a ¼” drive 8mm deep socket driver on the exposed locknut, and an 8mm hex key at the inboard side of the spindle, loosen and remove the locknut
IMPORTANT: The right pedal is reverse threaded, and loosens to the right. Please see locknut callout above for identification.

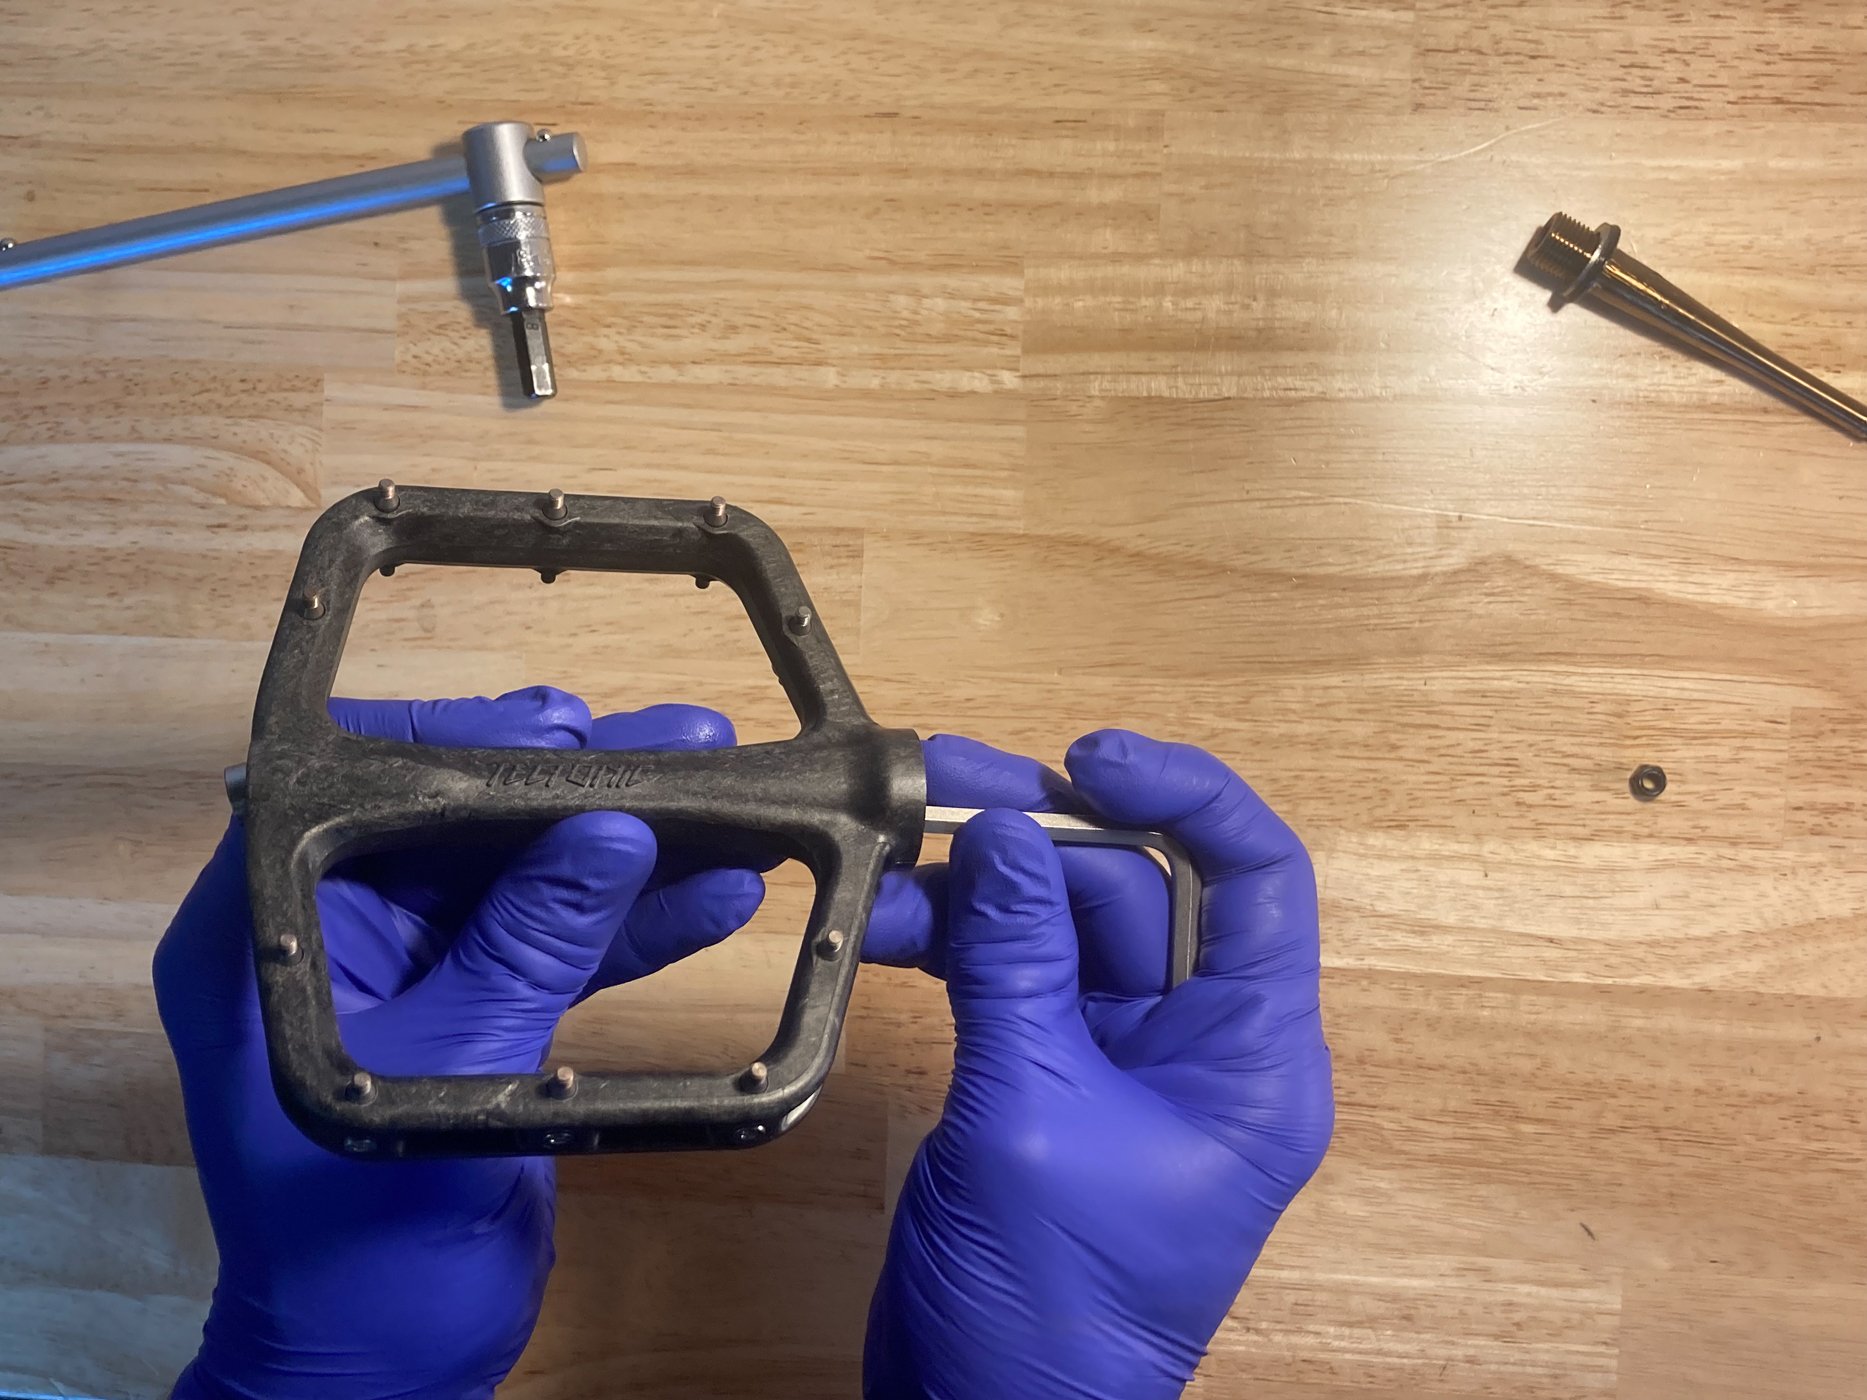
3) remove spindle from pedal body. Remove old spindle o-ring, clean spindle, and replace with new o-ring
4) using a hex key or punch, press out 3x outboard bearings

5) using a hex key or punch, press out inboard bearing. This will require more force than the outboard bearings.
install

1) load inboard bearing on spindle. this will serve as a guide pin and press to install the bearing.

2a) press in bearing by hand until firm

2b) if necessary, lightly tap spindle with hammer to fully seat bearing

3) load 3x outboard bearings onto spindle

4a) insert bearings into pedal body

4b) press bearings into pedal body to seat

4c) remove spindle, and use hex key or punch to ensure bearings are seated in pedal body.

5) Load locknut into 8mm deep socket driver. Make sure that the nylok portion is outboard and furthest from the spindle.
IMPORTANT: Ensure you have the right locknut for each spindle. See the above locknut callout for reference.

6a) insert 8mm deep socket driver with loaded locknut into pedal body, and press against outboard bearings to keep them in place

6b) load greased spindle into pedal body

6c) while keeping pressure on socket driver, press spindle into bearings until seated

7) using an 8mm hex key at the inboard side of the spindle to hold it in place, tighten the 8mm deep socket driver until you lightly feel the locknut bottom out on the bearings. then loosen to adjust preload until the pedal spins freely on the spindle with no side-to-side play.
IMPORTANT: The right pedal spindle is reverse threaded and tightens to the left. Please see the above locknut callout for reference

8) install end cap using 6mm hex key, and tighten to approximately 4Nm